
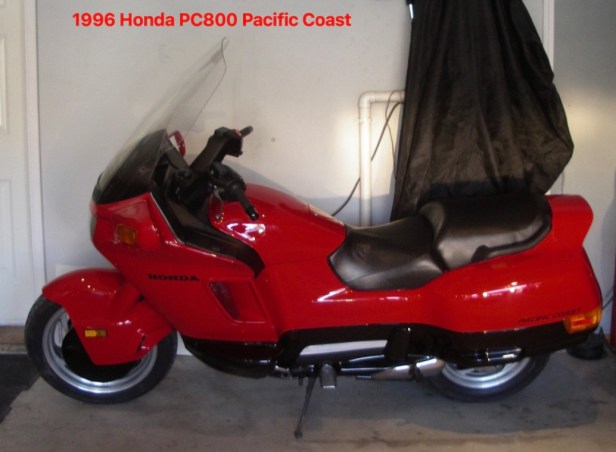
Last month TJ, My Dad and I went to Hot Springs South Dakota and bought a rough looking PC800 that had many broken and missing body panel parts but has a really good drivetrain.
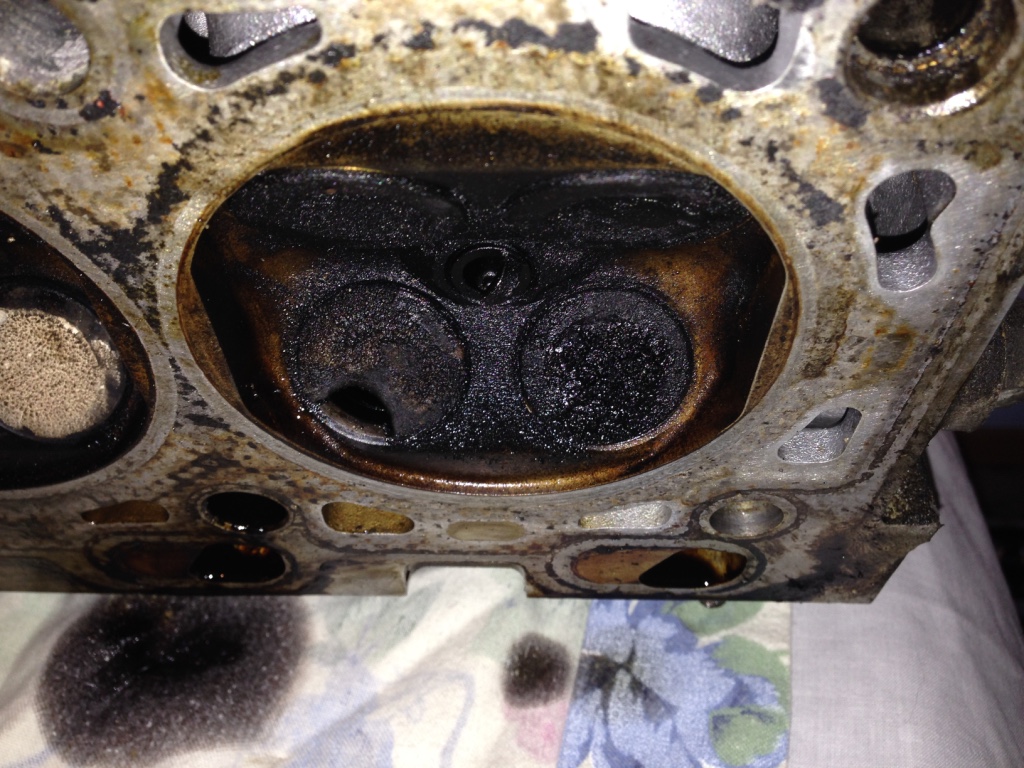
I have been in the middle of rebuilding my Dad’s 1984 Mercedes 300CD turbocharger and replacing various other parts and when we went to get the PC 800 the Volvo started to have compression problems so I tore the head off it to find and exhaust valve with a hole in it.
So with all this going on the disassemble and rebuild of the PC800 has been delayed.
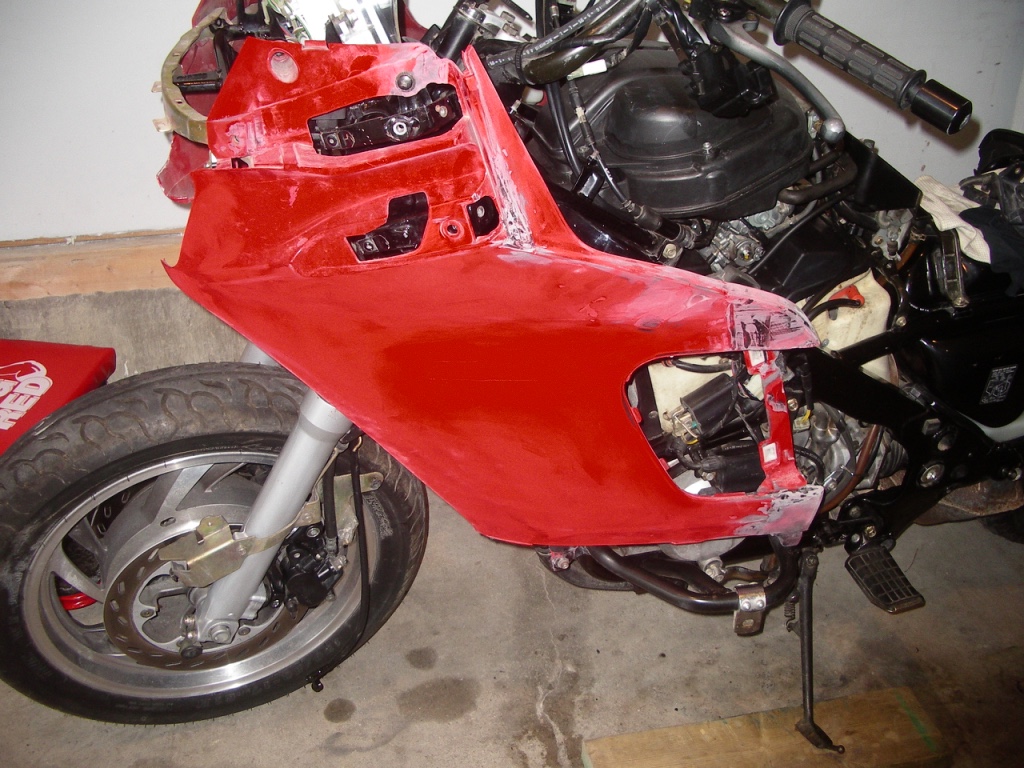
Almost every panel on the left side including the mirror is broken into pieces. I looked on the internet for replacement pieces but most that I found were in about the same shape or just slightly better than what we have and at a ridicules prices. So I decided I’ll fix what we have.
I am very fortunate to have a friend who owns a body shop that restores and rebuilds cars, trucks & bikes.
Jose, Eddie and Dave have taught me how to plastic weld and with some help even fill and prime the repaired areas so I will strip the all the plastic off and repair everything and then repaint it completely.
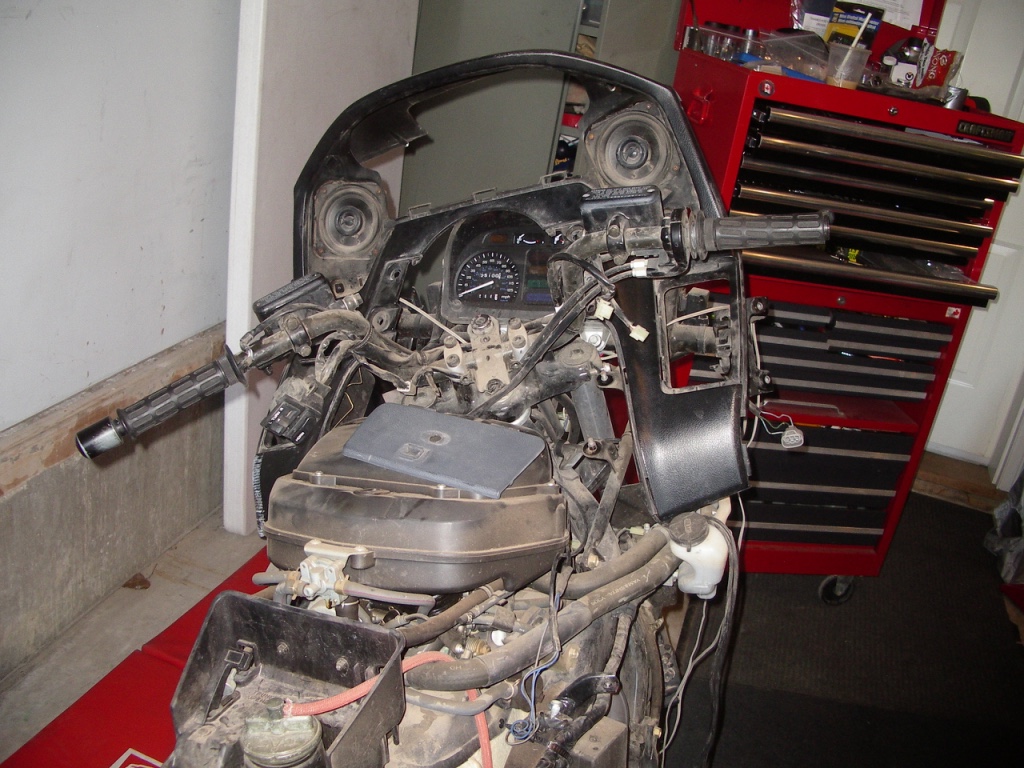
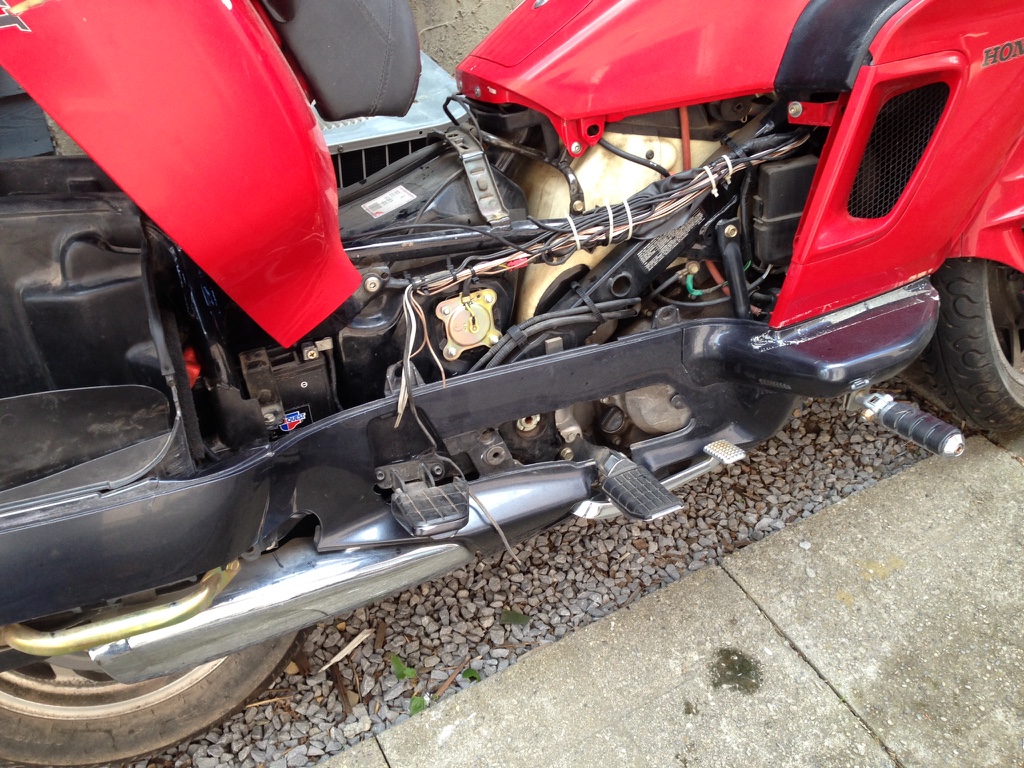
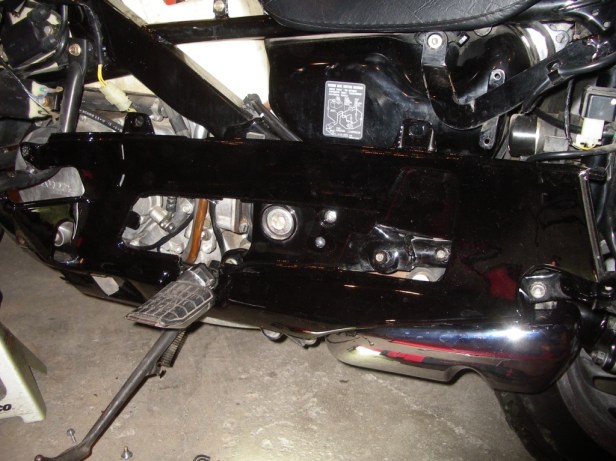
Here’s some shots of the left side and the damage.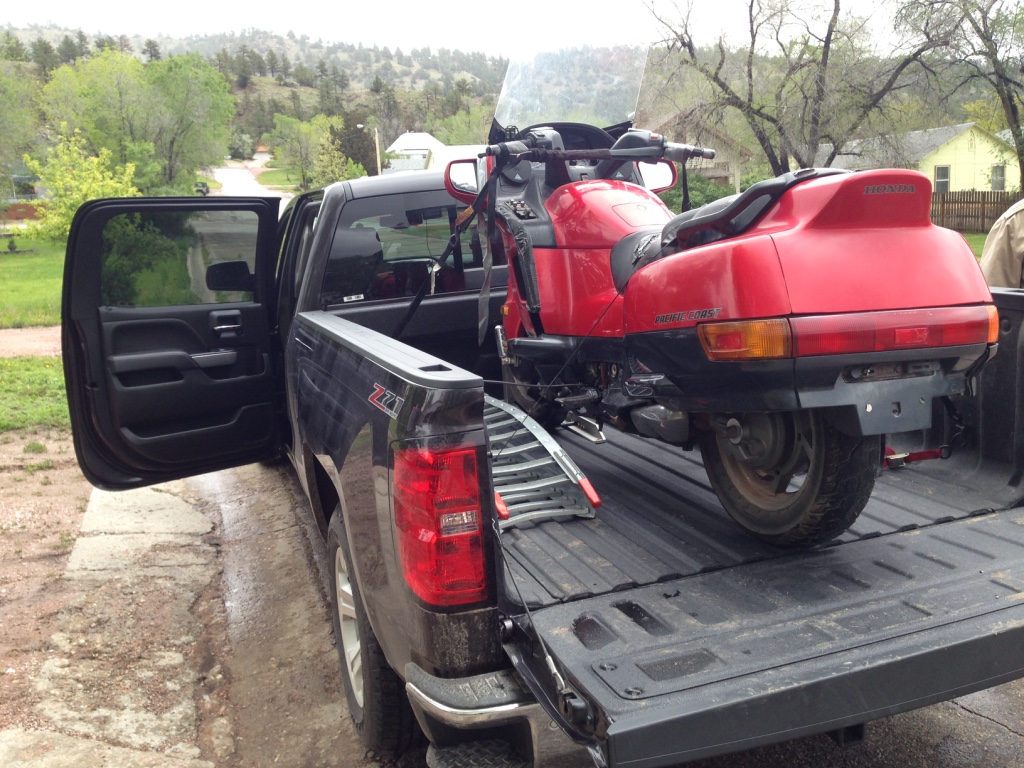
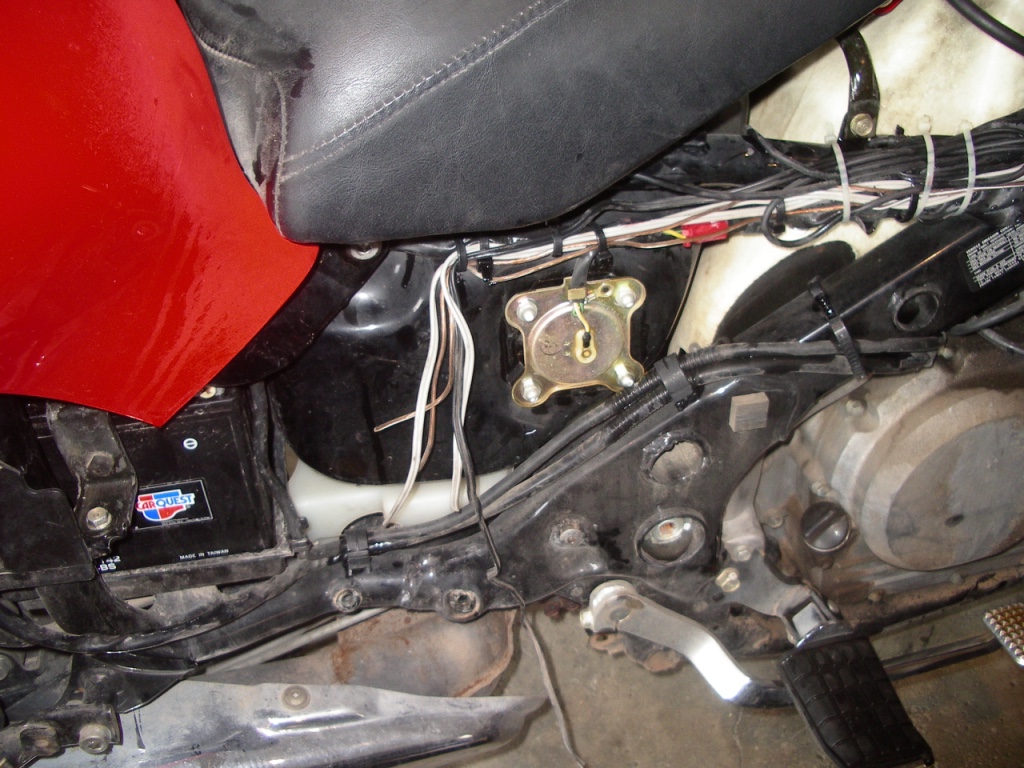
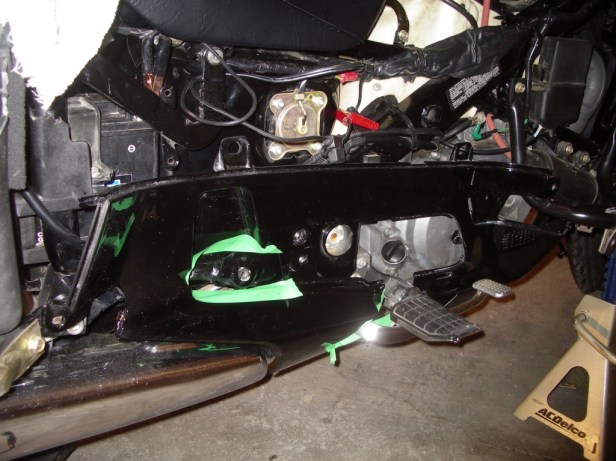
After removing all the plastic this is what we found underneath.
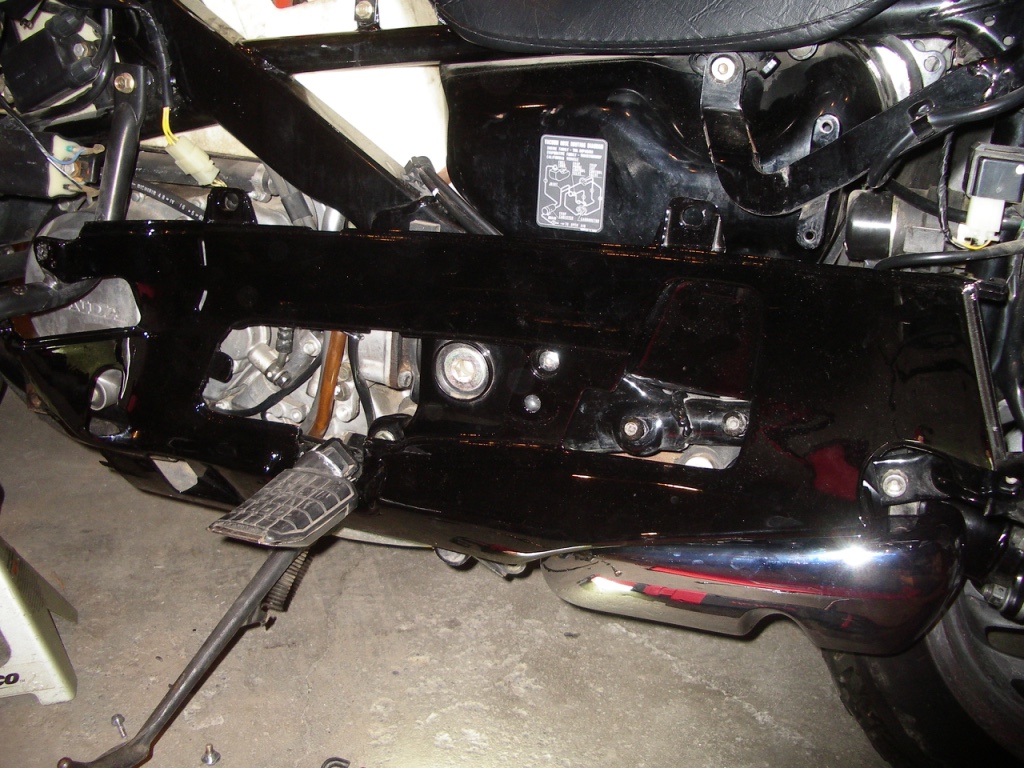
A dirty, dirty frame.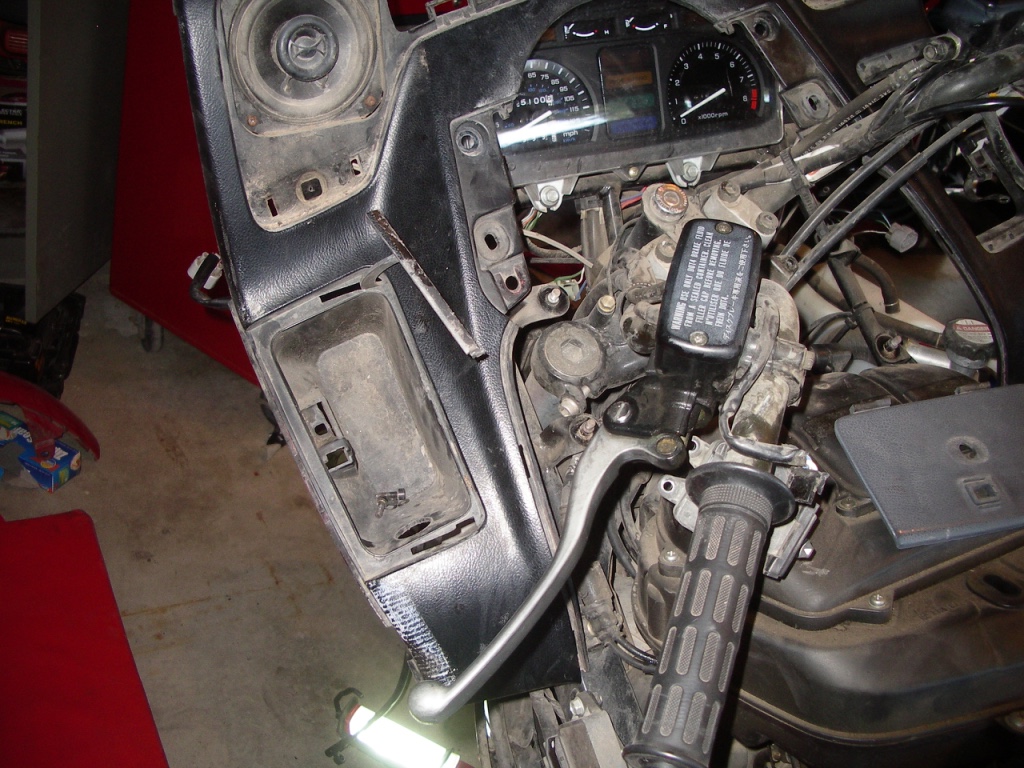 After a whole day and a box of rags I got it clean.

The coolant is very dark and brake fluid has never been changed. The guys that did this shouldn’t own a motorcycle.
There are a lot of extra holes and switches as the previous owners added a CB and intercom system along with switches and knobs, so there will be a little filling here and there.
The mirror and mount were busted up bad.
The switch in this pocket cover will be removed and the hole will be filled.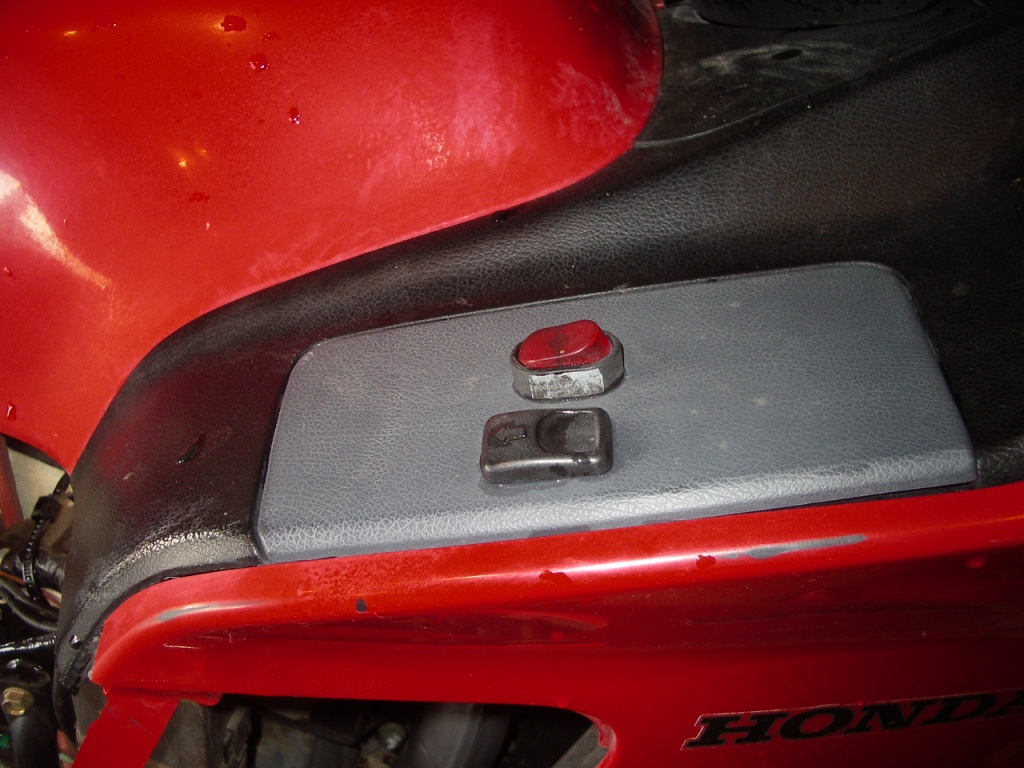 Take a look at this clean air filter.
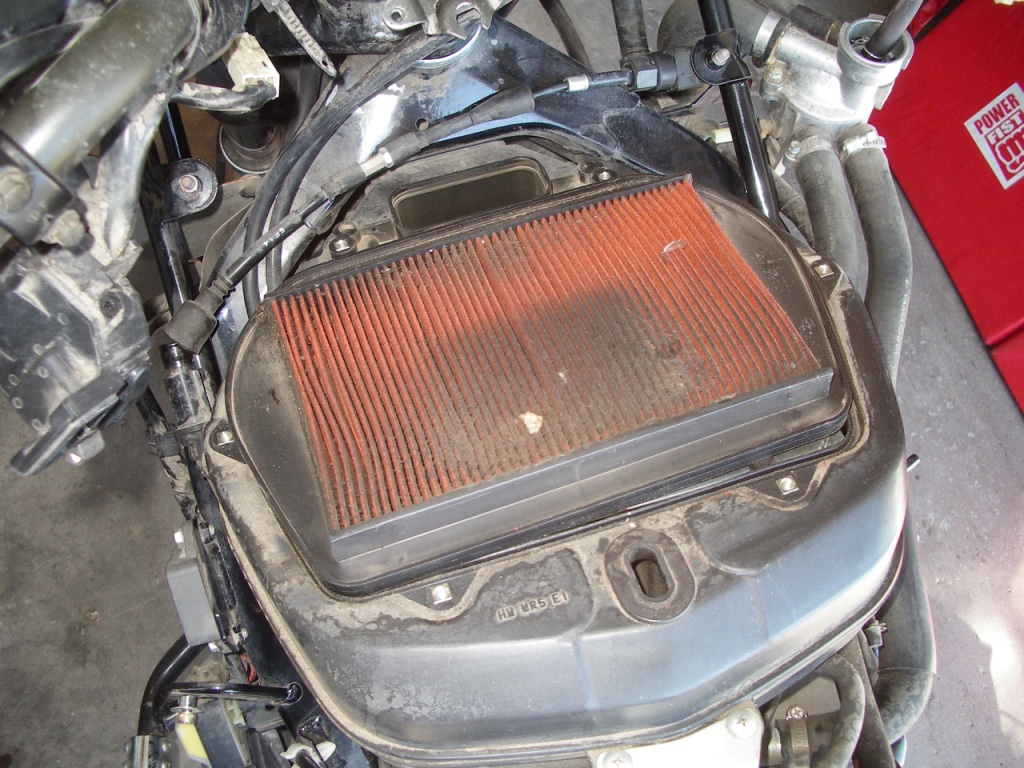
This is the mess of added CB wires that I’m pulling out.
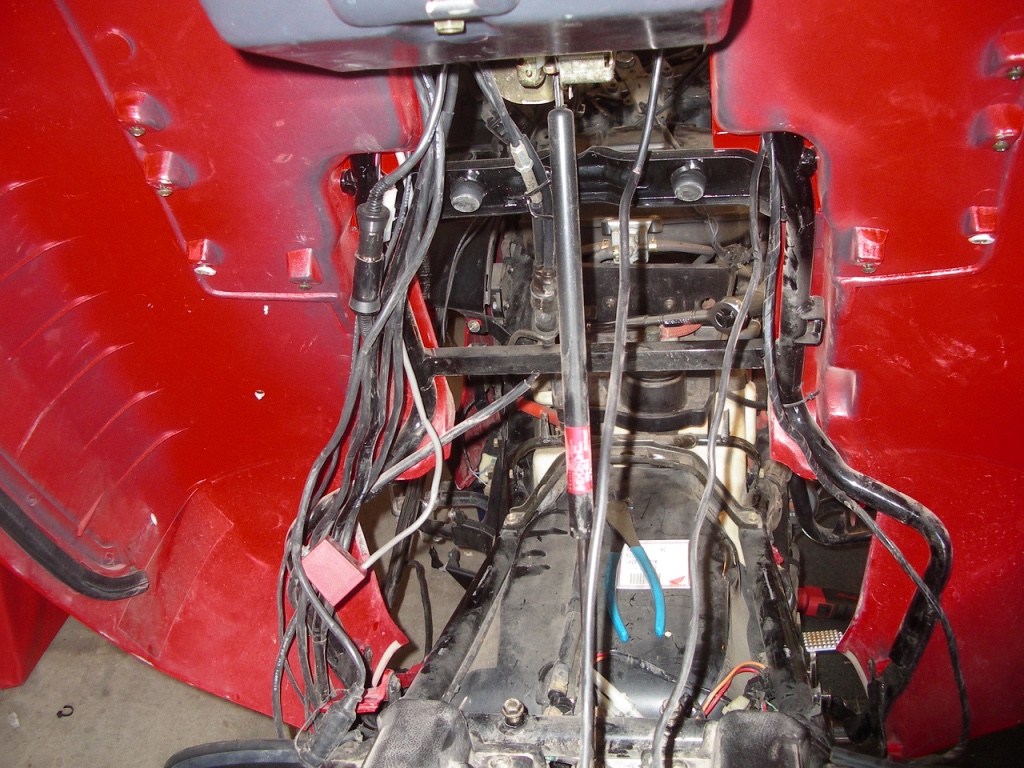
Speaker and CB wiring running everywhere.
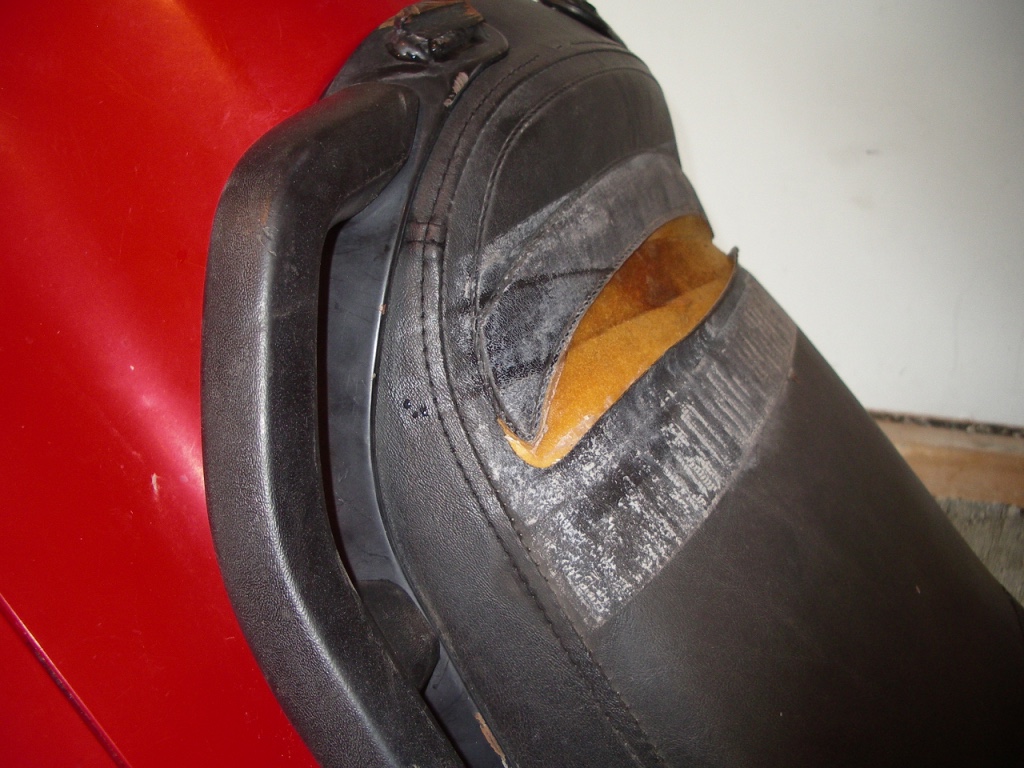
Here’s some fine gel seat installation. Just cut a hole and slide in the gel and add duct tape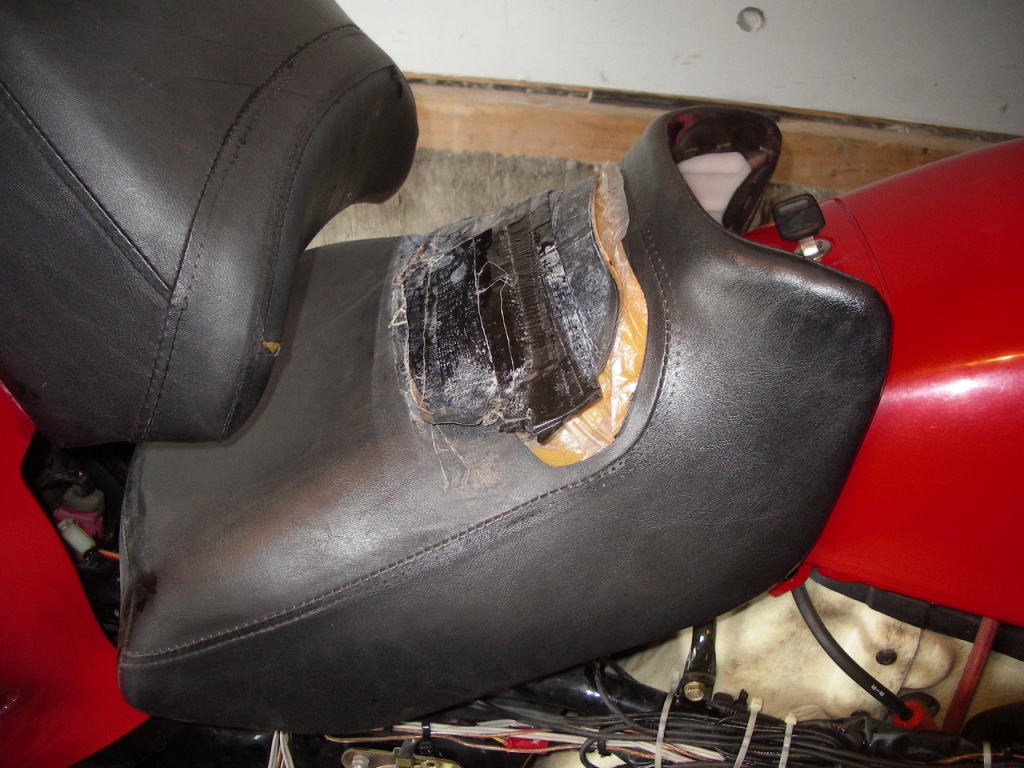
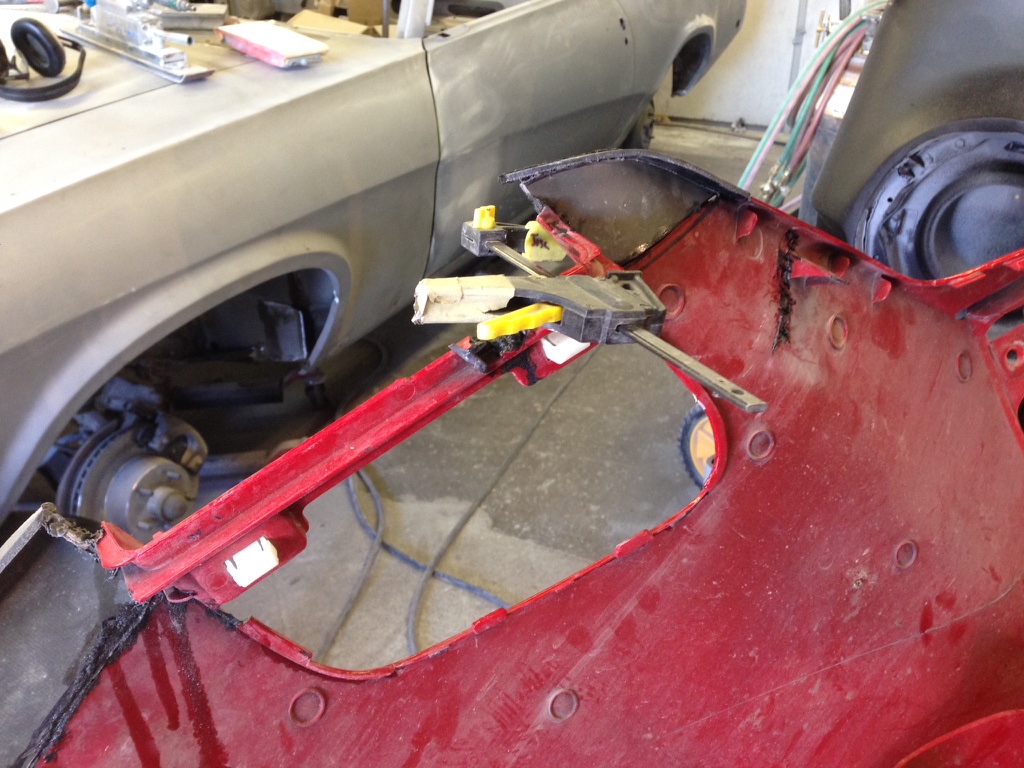
The speaker grille installation was quite elaborate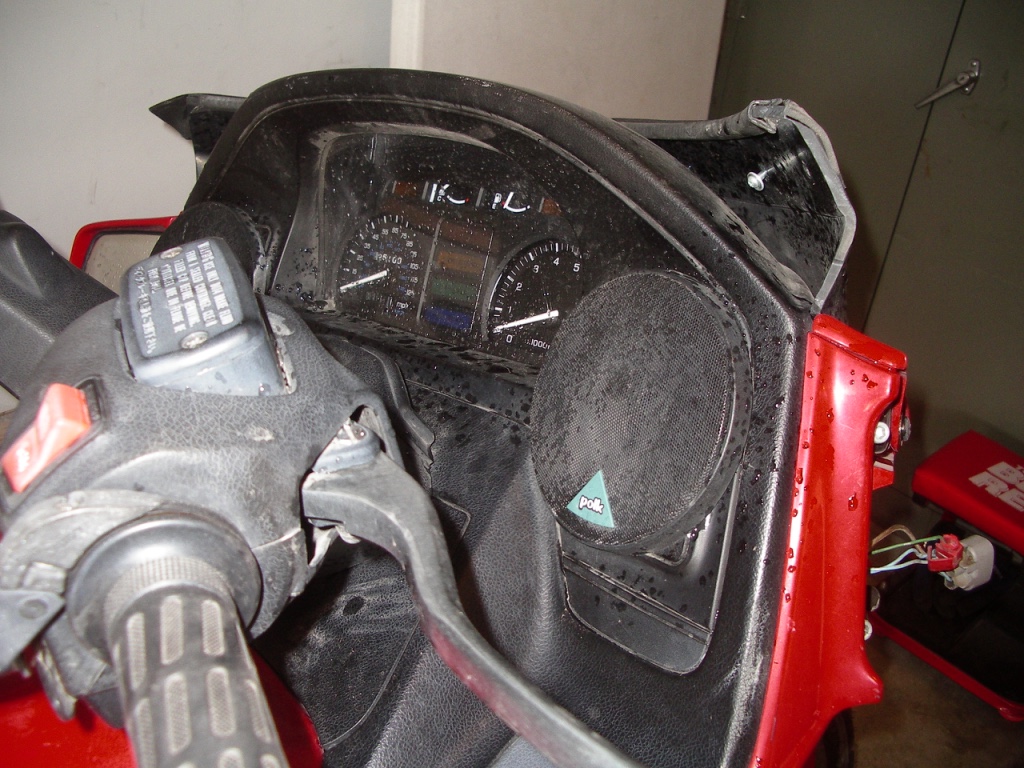 I took section by section over to Jose’s shop and over a week I had the whole plastic body there and we started to repair the damage.
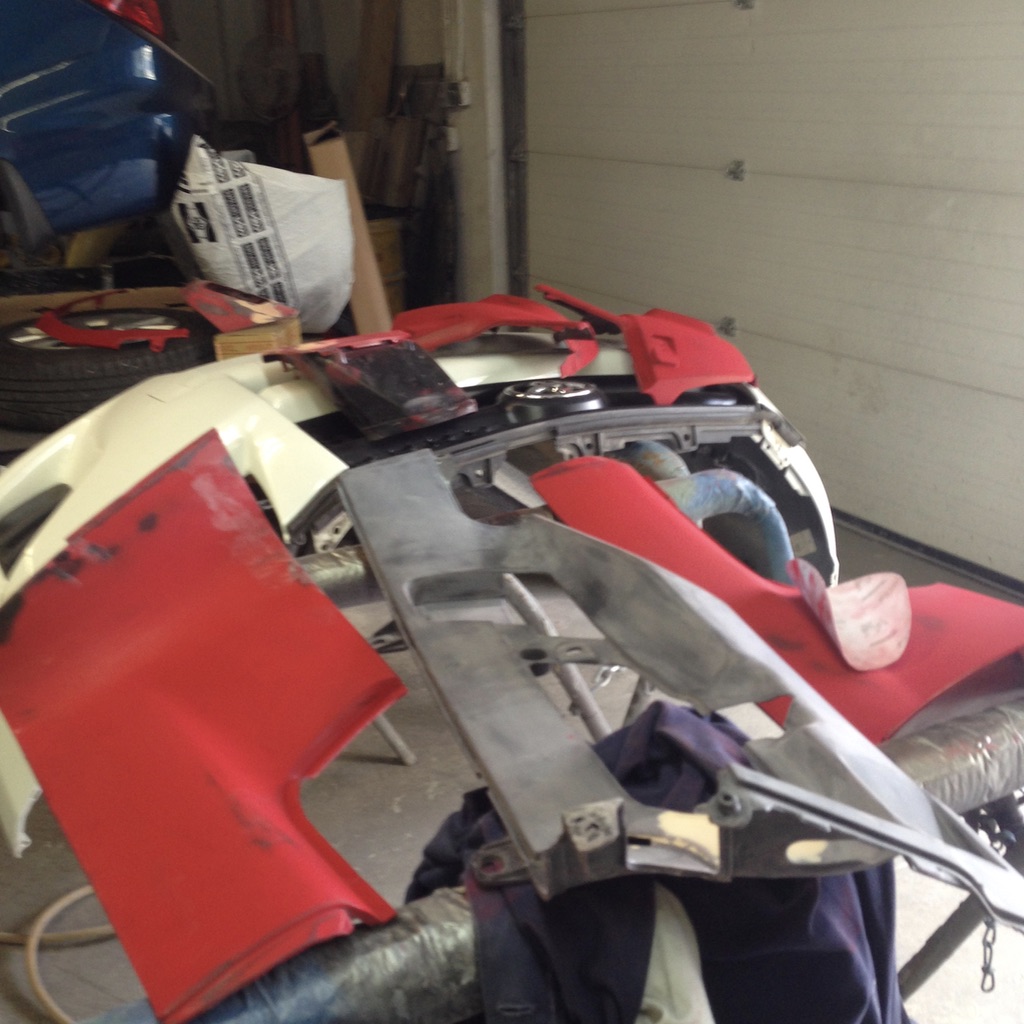 A new tab added from an old scrap bumper that was laying in the pile out back.
As you can see the top and bottom sections were completely gone and the center section that holds the maintenance cover was broken off. We found bumper material that matched and after heating them up we shaped them to match the curves. Then we glued and plastic welded them together and then glued everything back in place.

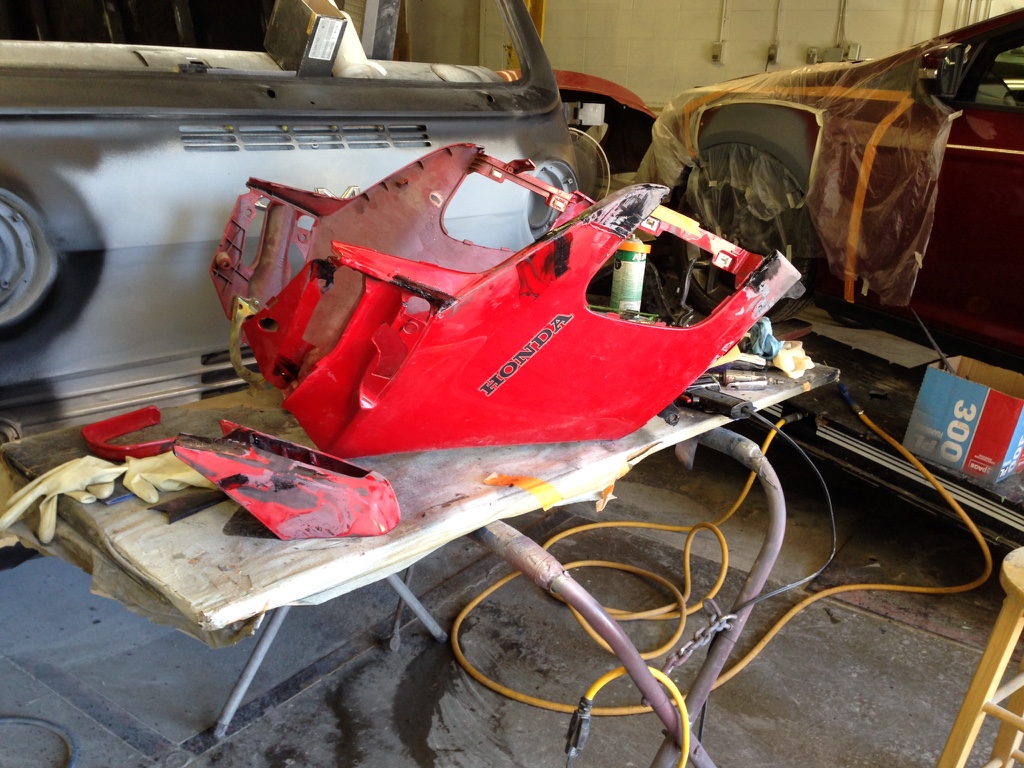
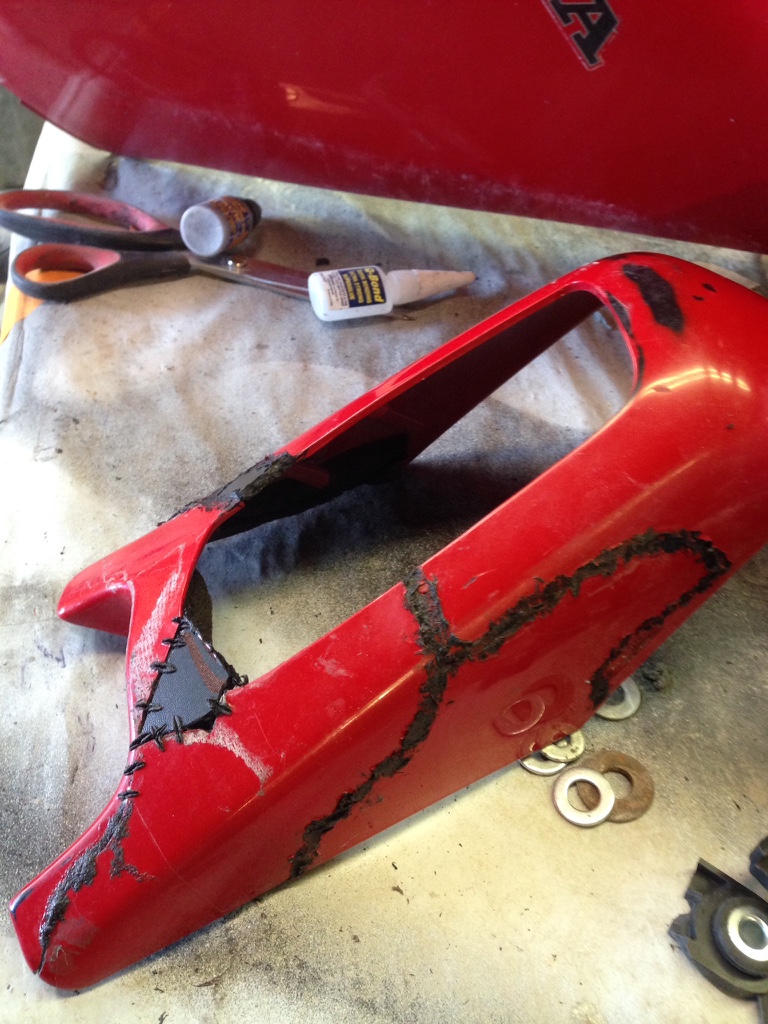
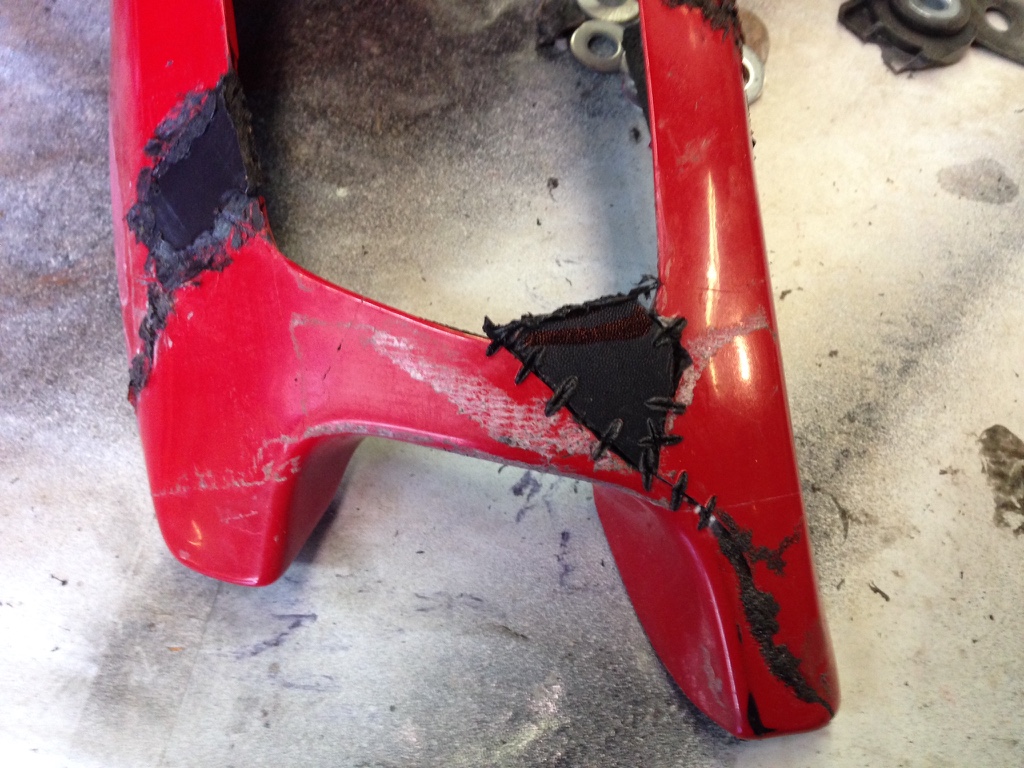
As you can see the left mirror was broken in a number of places and kinda looks like Frankenstein when we stitch and weld it up.
Eddie is adding a piece to the left side of the main cowl. It had a lot of damage and was missing a three-inch section. The maintenance cover section was completely broken away but thank God the moron who owned it kept some of the broken pieces.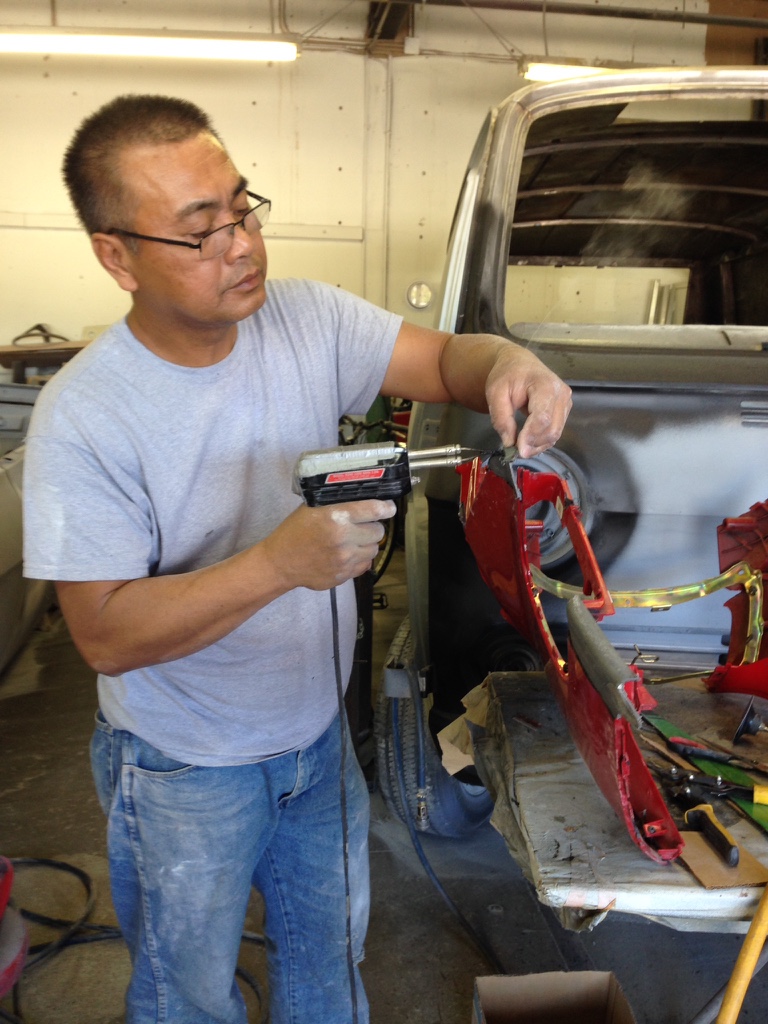
I used a body trim clip to replace the missing tab.
We used glue to reattach this broken off tab.
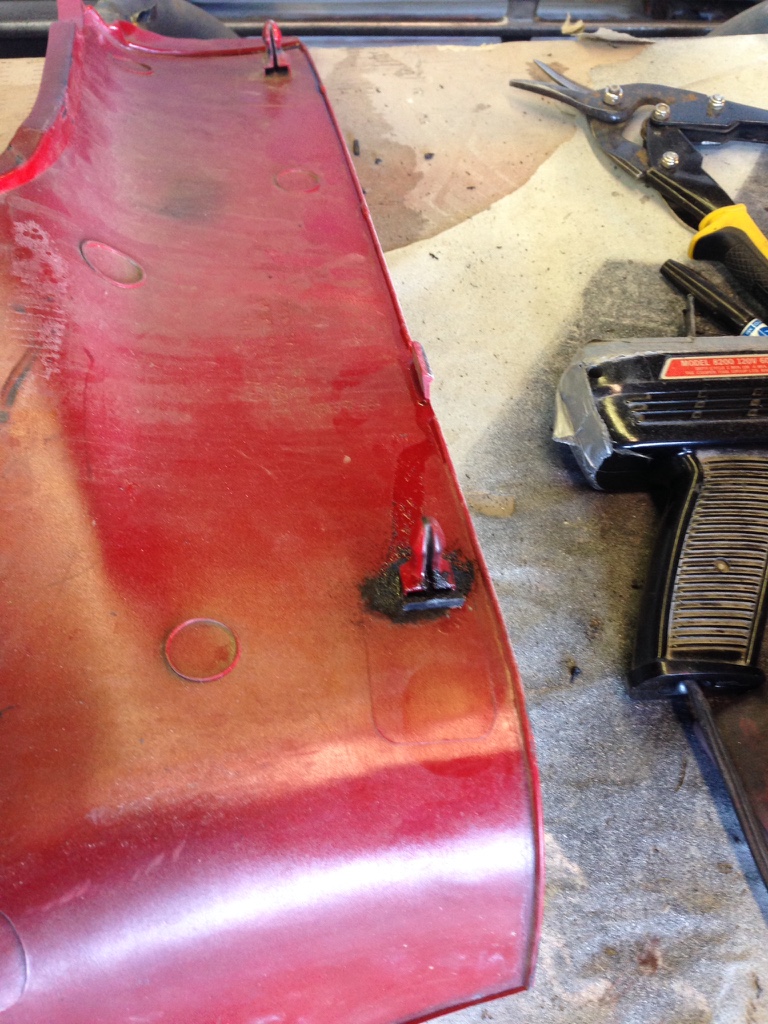
This is the special glue we used.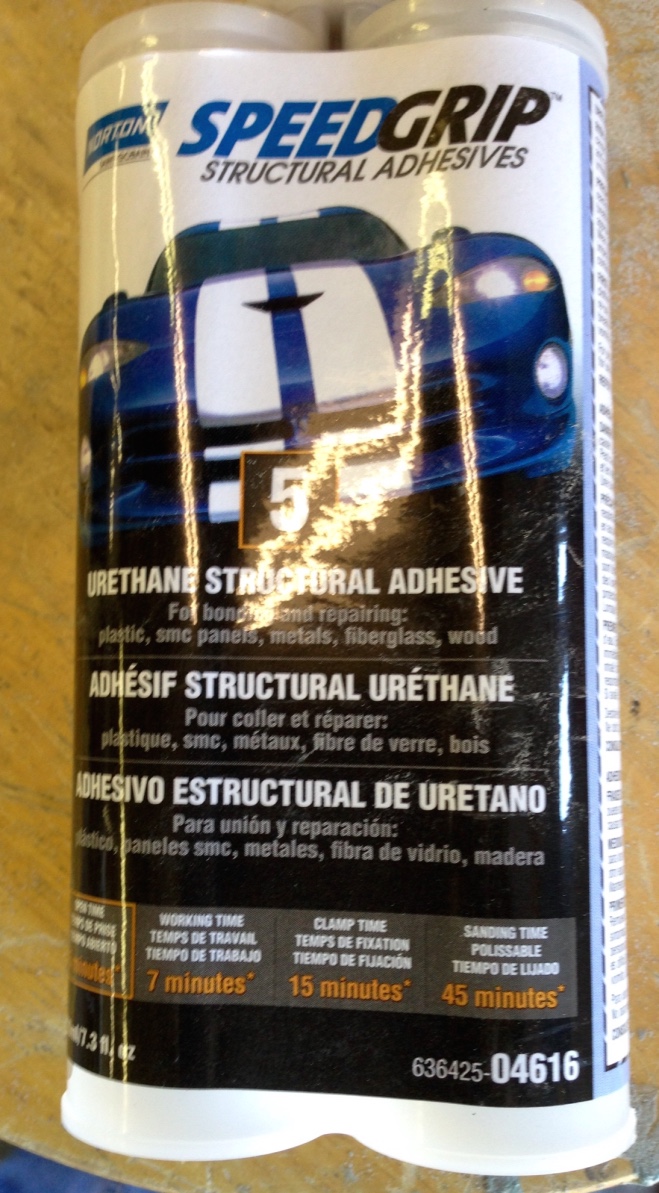
The front lower cowl is really damaged with most of the tabs missing and a chunk out of it. Eddie shows me how to match and cut out a replacement piece and then how to weld and glue it in place.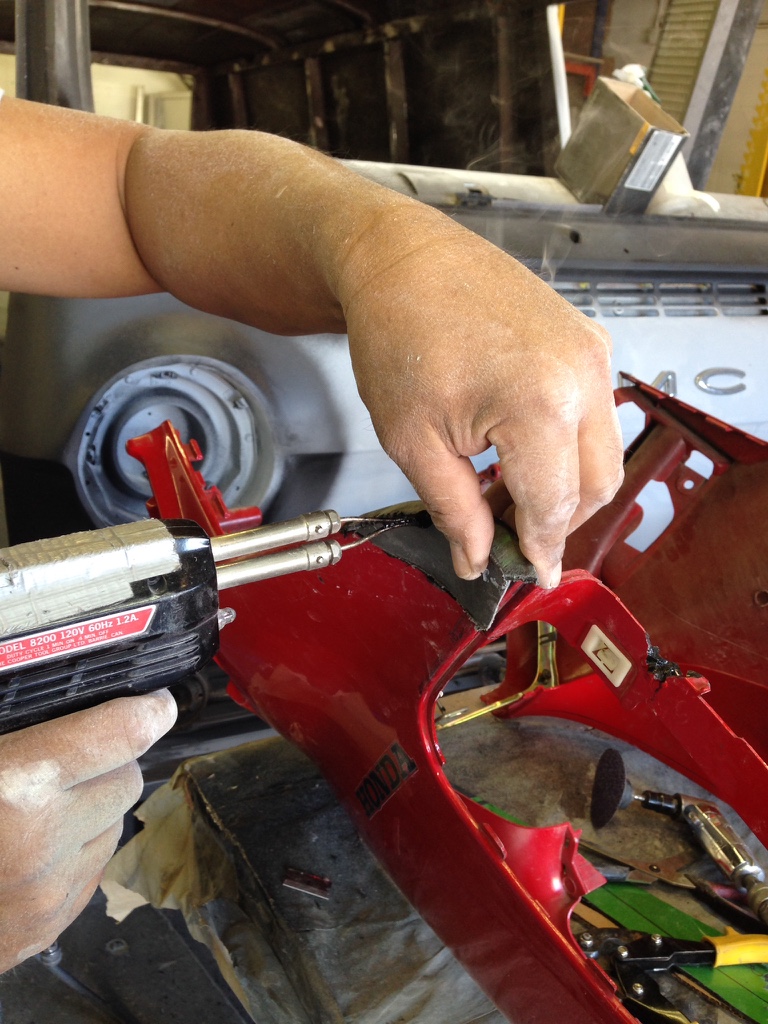
This left side piece that goes around the pedal is missing a section and is cracked in three locations.
 I’ll need to plastic weld this crack and apply some filler. This happens on the right side when someone doesn’t know how to remove the battery.
I spent about a week fixing everything and now I need to order a pocket cover for the left side before we can paint so it will match. Also I need to buy a missing cover that goes above the foot peg.
Well next week the Calgary Stampede starts and throughout the ten days there are free stampede breakfasts and lunches so I’ll be busy eating and the repairs will have to wait.
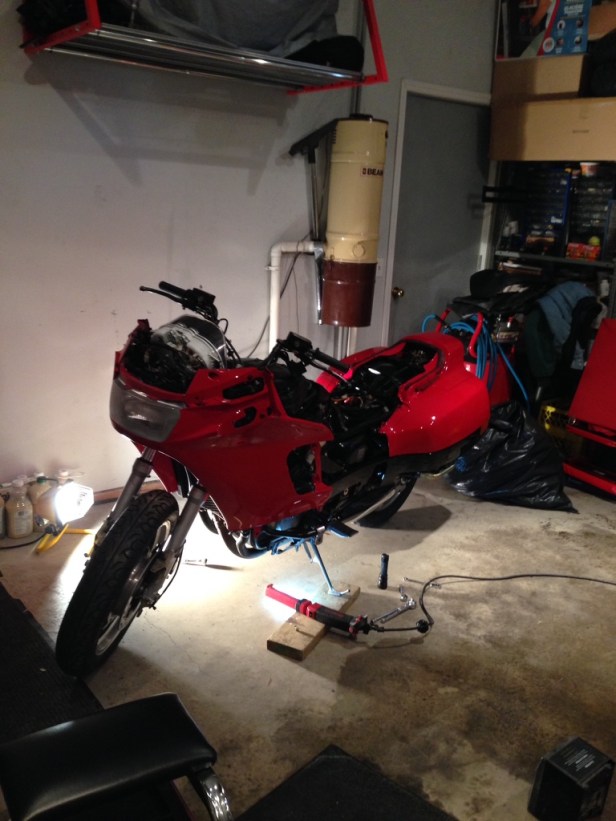
I have everything clean and ready for the panel and pieces to be put back on.
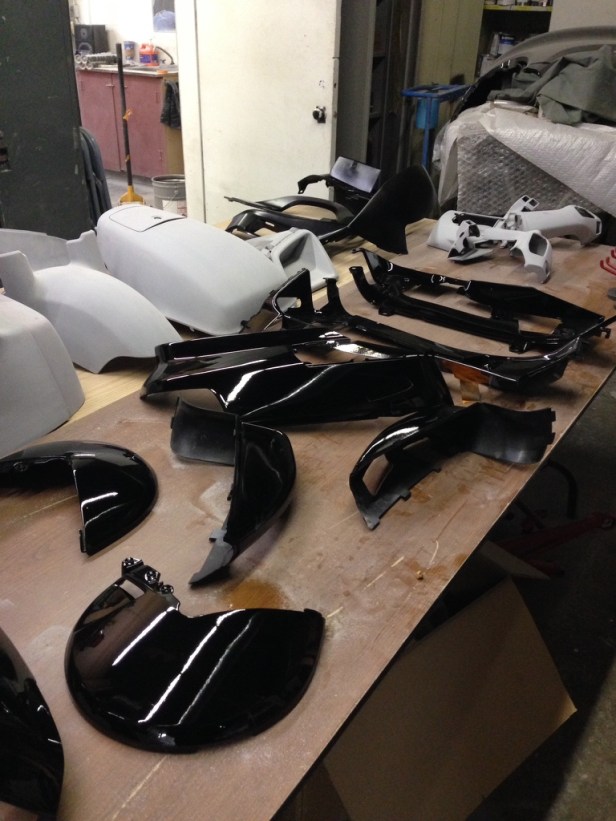
Well we have sanded, filled, and sanded and filled until our fingers were raw but we are ready for primer and paint.
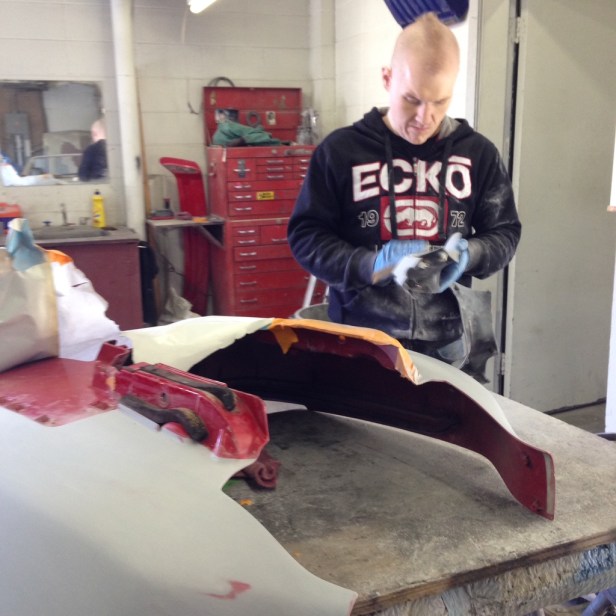
Here’s my son Keith sanding
Here is the pieces getting primed
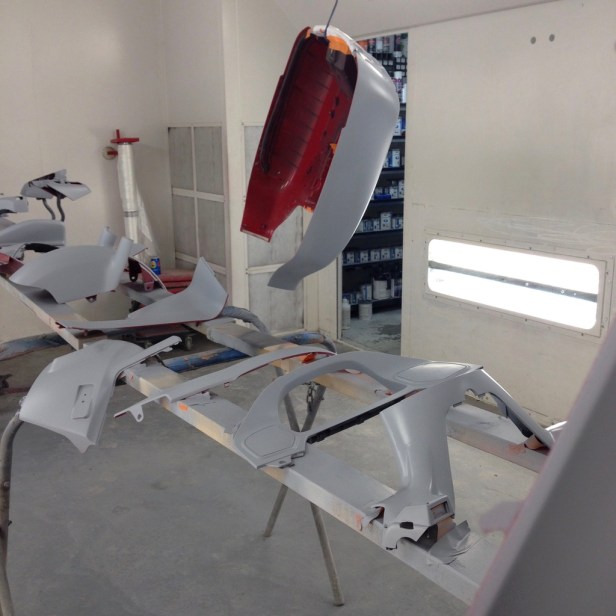
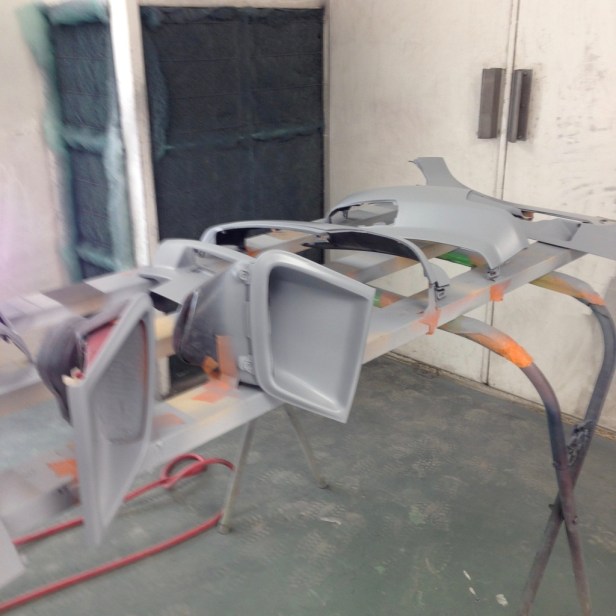
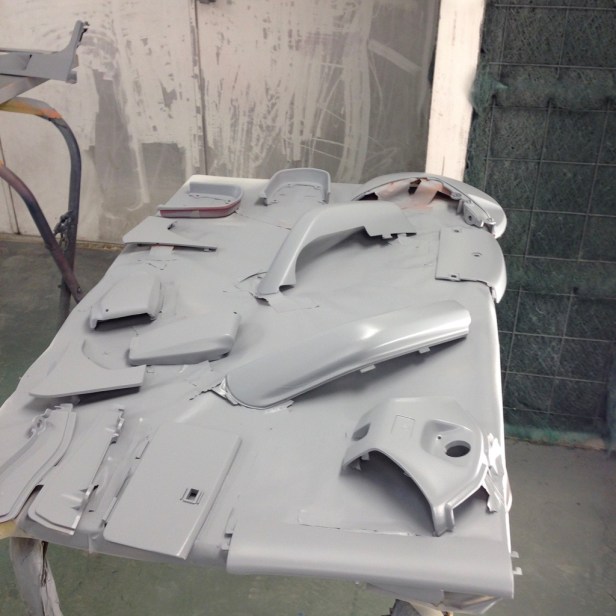
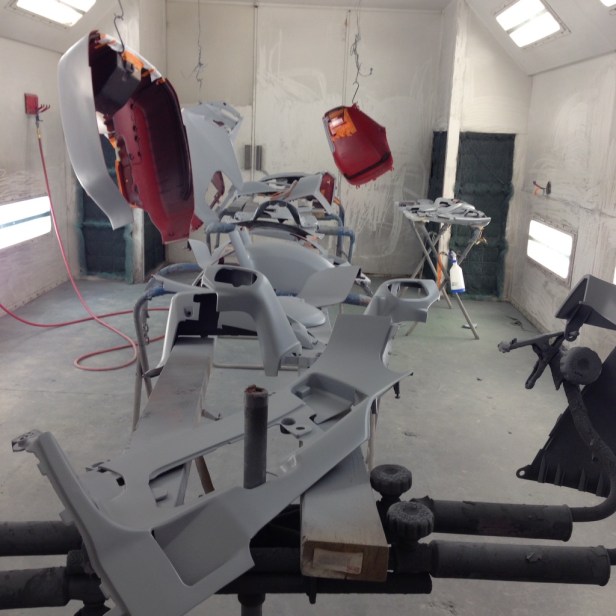
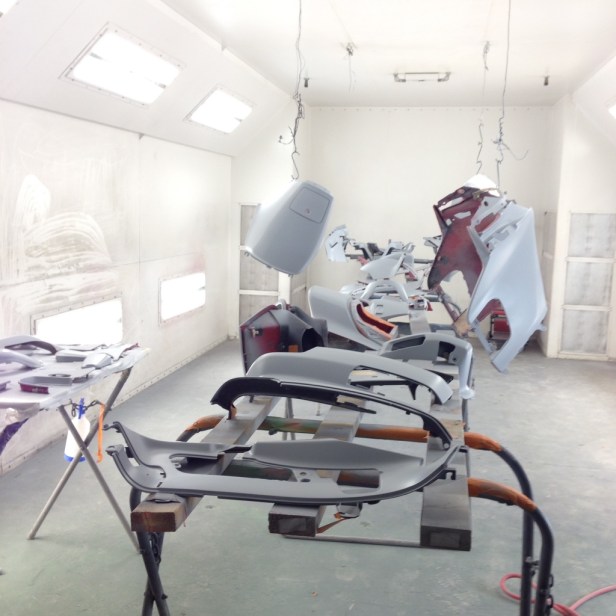
We had so many pieces we had to spray in two stages and then we had to sand and block everything. Yikes what a lot of sanding. No wonder having something pained is so much money.

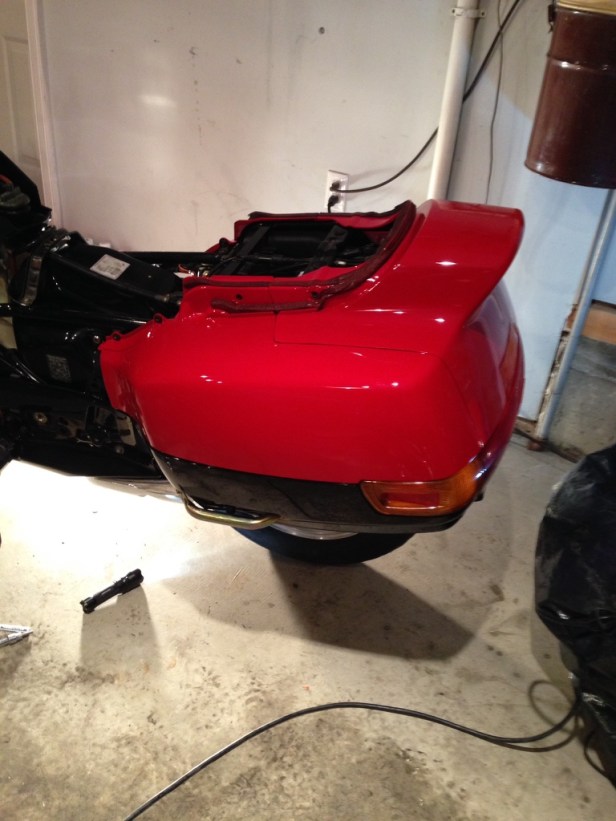
We slowly start to put the pieces on.

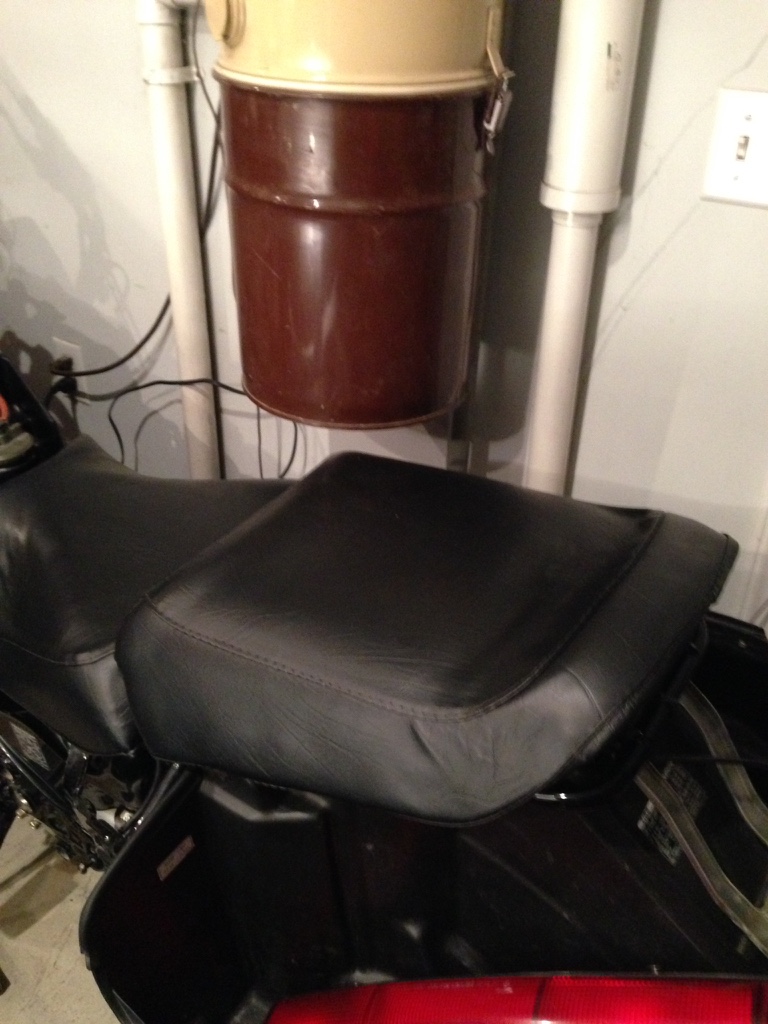
I need to replace the seat cover so Dad and I went over to the local fabric warehouse and Dad negotiated a great price on a large piece of black vinyl.
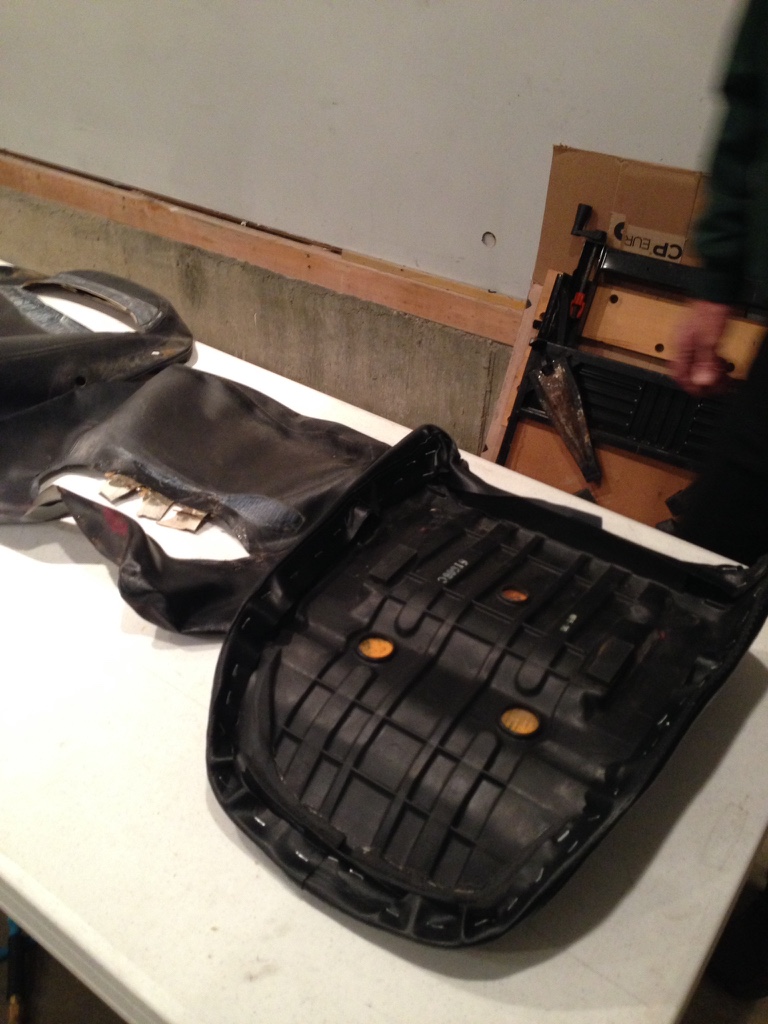
The hardest part was pulling the corners tight before stapling, we must have tried ten times to get it right.
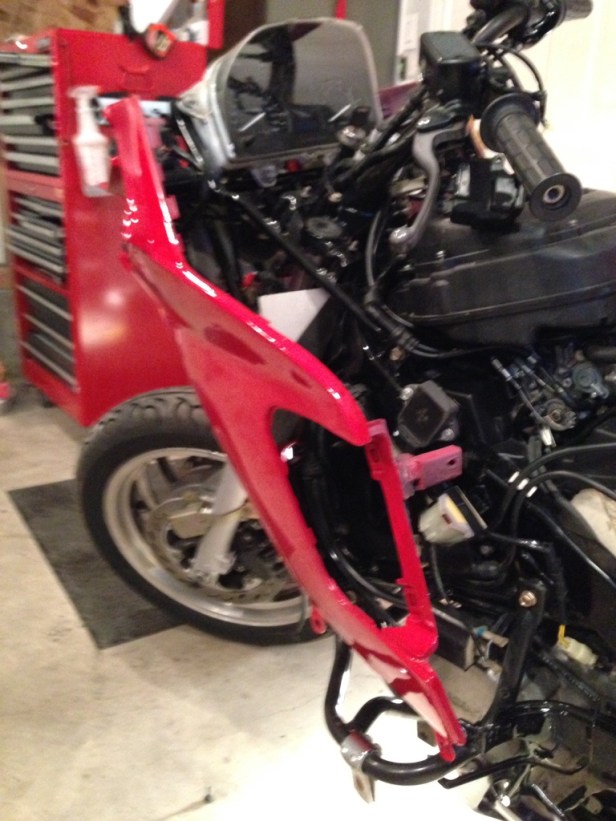
I’m having trouble getting some of the panel tabs to line up and we had to make some adjustments but we finally get everything to fit.
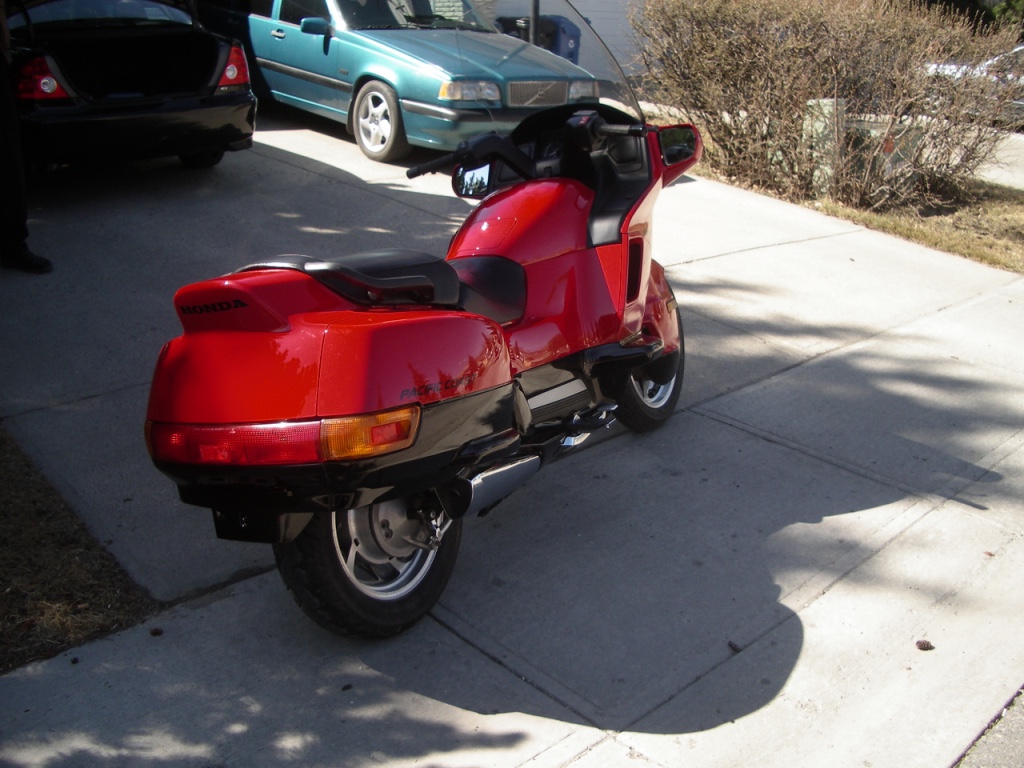
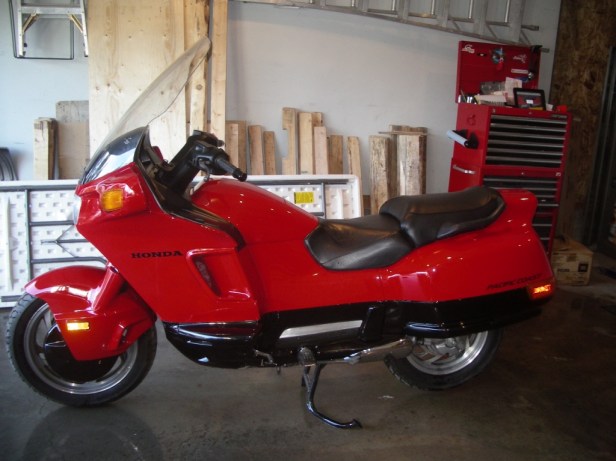
We it was a lot of work but the bike came out really nice and the new owner will enjoy it for many years.
